Contact Us

Use the form on the right to contact us.

You can edit the text in this area, and change where the contact form on the right submits to, by entering edit mode using the modes on the bottom right. 


123 Street Avenue, City Town, 99999

(123) 555-6789

email@address.com


You can set your address, phone number, email and site description in the settings tab.
Link to read me page with more information.

Style/Entertaining

Summer's Not Over Yet

Peyton Lambton

I love fall, but I am so not ready for this summer to be over! The warm season is so short in New England that we really cherish the time we can spend outside. I am constantly looking for ways to extend the season so we can continue with the fresh air as long as possible. After that, Winter is coming! So get your friends and family together and have as many parties as possible before we are all stuck inside!

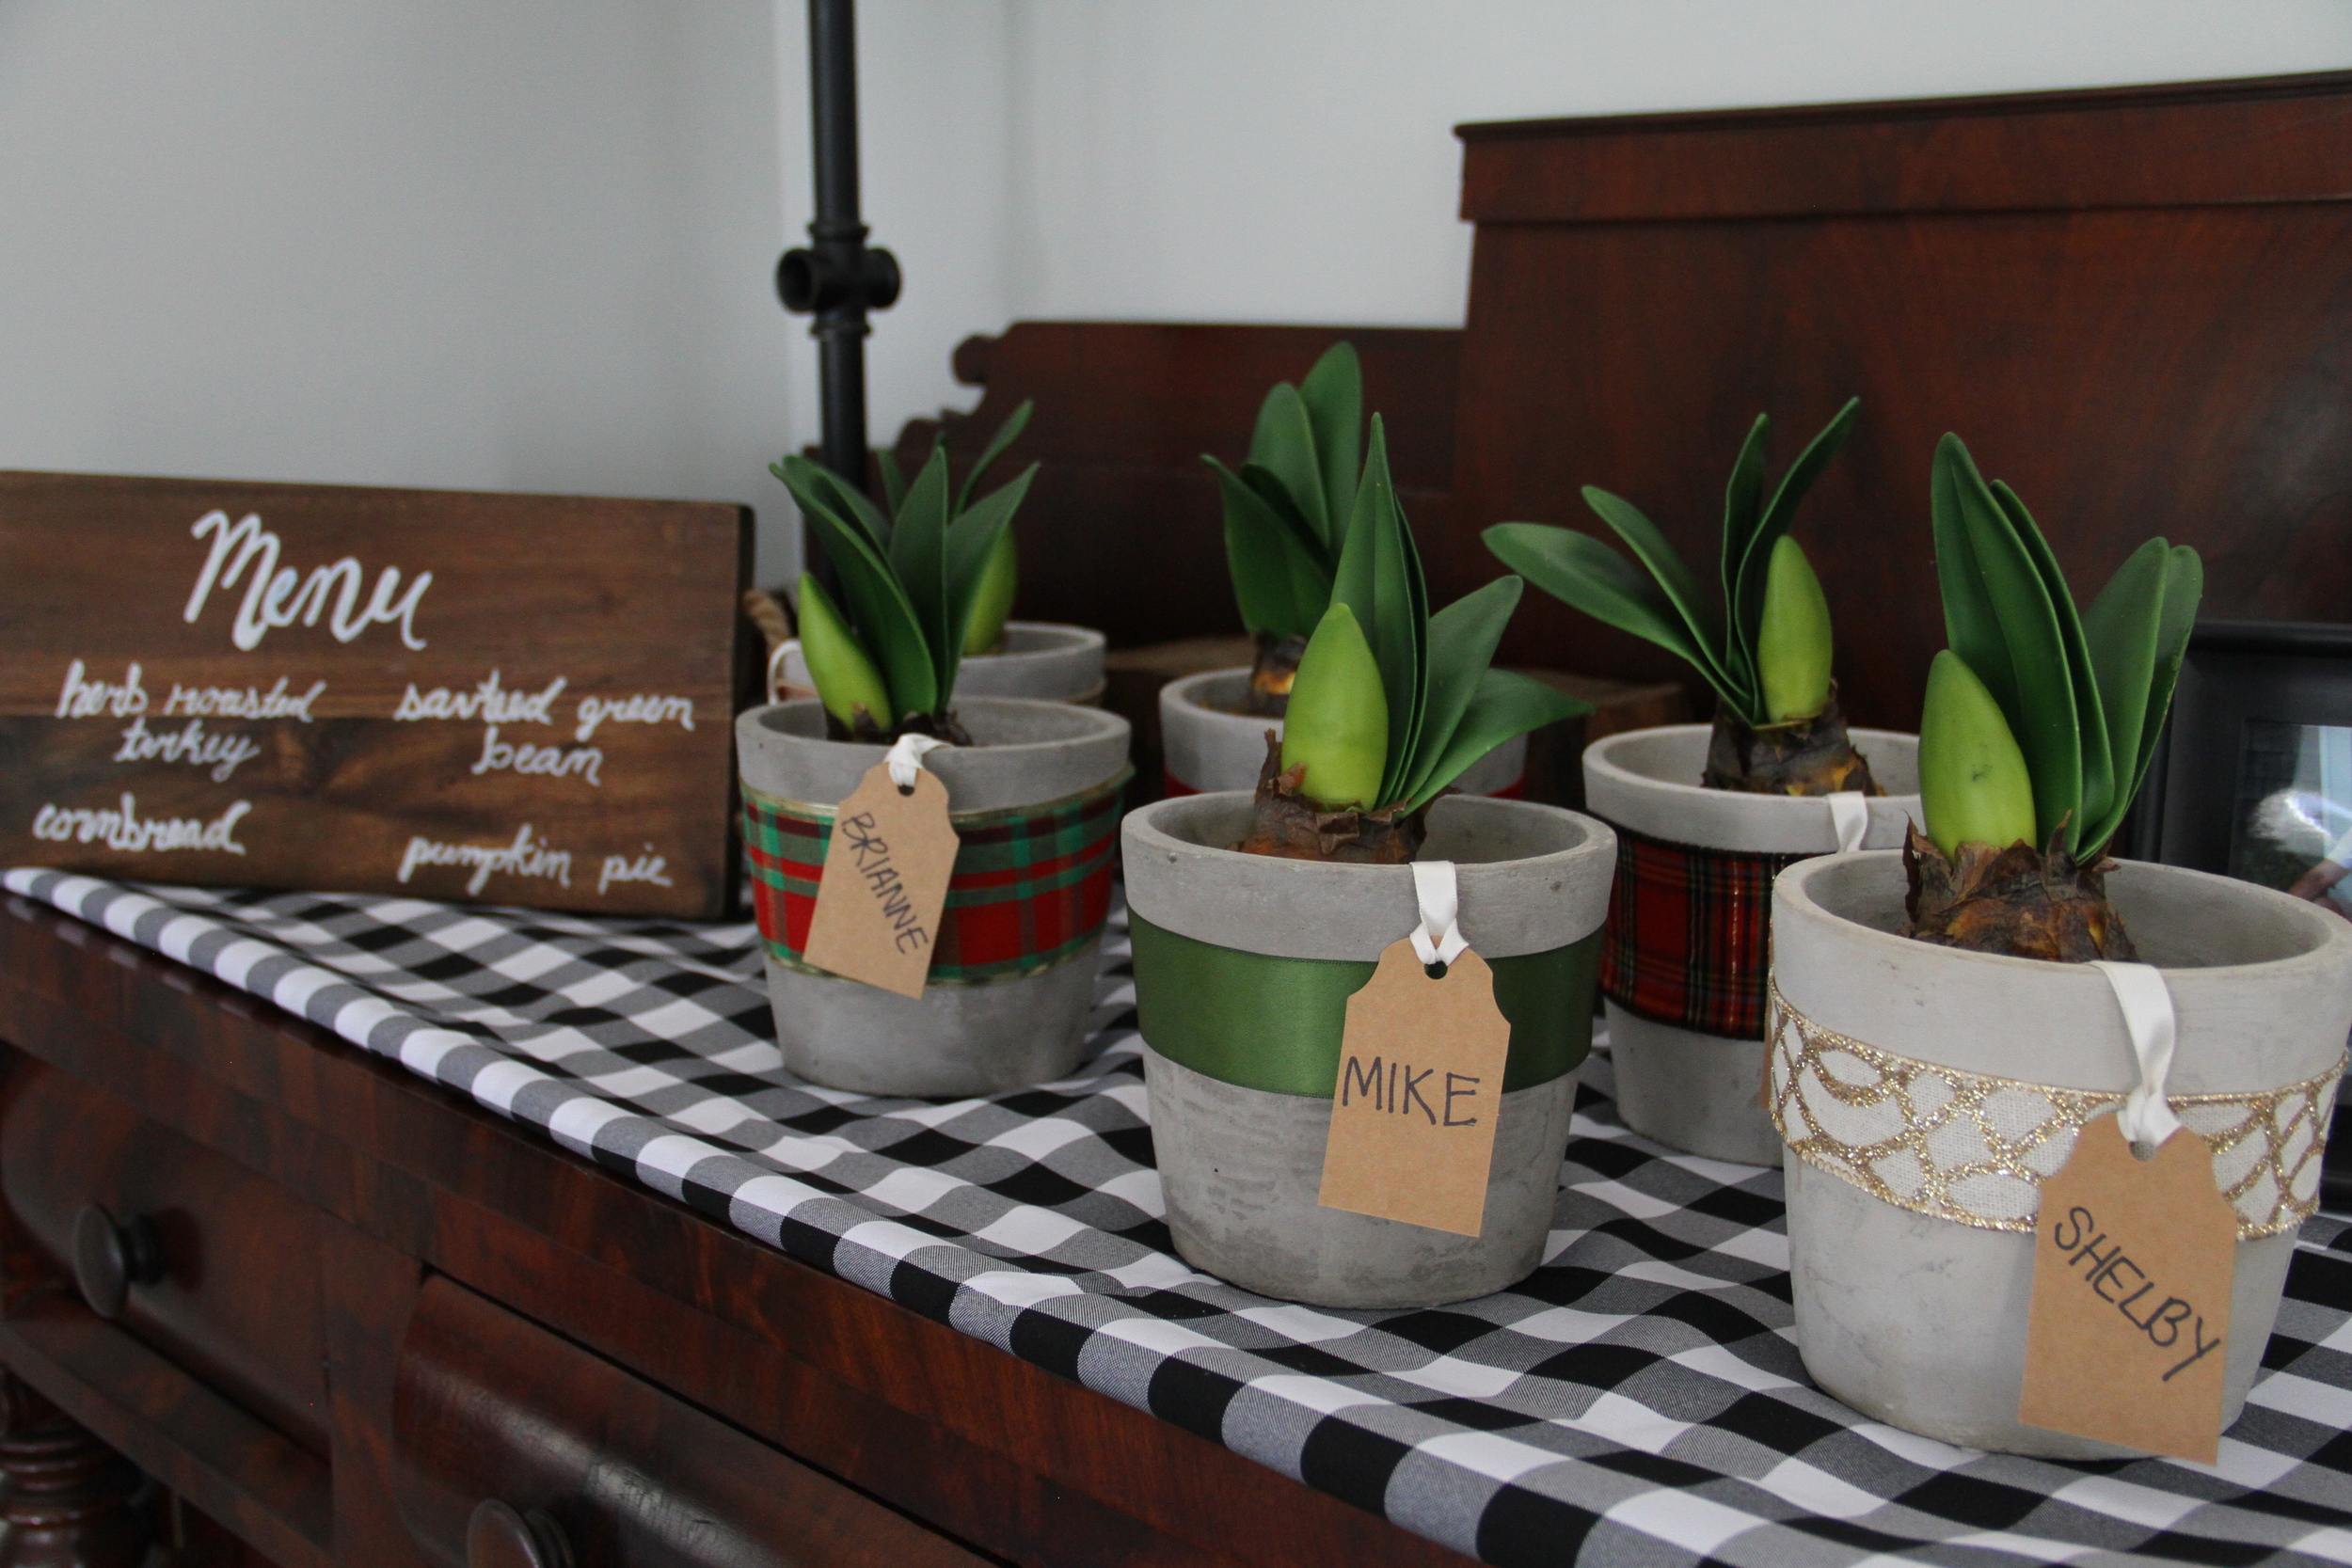
If the party is starting in the afternoon, it's nice to set up some stations so guests can get what they need without having to bother the host. Drinks outside will encourage guests to stay outside and enjoy the weather. Providing sunscreen and bug spray will also keep everyone comfortable. Grab some cute buckets or baskets and put a few in the yard with these essentials. Hopefully it will keep the party going well into the evening. 

Seating on the patio is great, but you can get creative and encourage guests to get out in the yard with some comfy seating on the lawn. Set up an outdoor rug or spread out some blankets and pile on the pillows. This is also great for little ones who want to crawl around! Add some lawn games and your guests will be in the yard for the entire party!

With the air getting cooler, you want to make sure your guests are warm so they don't leave the minute the sun goes down. You can add a thermal warmer with hot water to your set up and allow friends to make hot cocoa or tea. Make it fun by adding some marshmallows and sweet treats to go with the warm drinks. The kids will love this!! For the adults, add some liquor to really take it up a notch. 

If you don't have a fire pit, then you should definitely add this to your outdoor space. It keeps you warm, while also providing some fun for the kids while the adults have time to chat. I'm lucky to have a husband who knows how to build a fire pit so we have a permanent stone version. If this isn't something you are ready for then look into a free standing version. They are inexpensive and serve the same purpose! Individual 'smore kits will be a hit with kids and adults of all ages. This will also keep little hands from eating the entire bag of candy. 

Stretch out summer as long as possible and enjoy these special times with friends and family!! Check out my video with more tips and tricks and find out where you can shop all these items below. Enjoy!!

Backyard Movie Night

Peyton Lambton

Summer is winding down and it's time to make the most of the warm evenings. We love to spend as much time as possible outside and this is just another way to gather with friends and family for some fun! Here are ways you can turn your backyard into a movie theater that will be fun for all ages. 

Start with a movie screen. If you don't have a screen, you can always use a white sheet. Then you can set up your seating around the viewing area. I like to begin with an outdoor rug and build from there. Grab pillows, blankets and any comfy seating you have around the house. Pile it on and your guests will be ready to snuggle in. 

Don't forget the snacks! A popcorn machine will really get everyone in the movie mood. Grab some glass containers and add your favorite candy. This will be a huge hit with the little and big kids. My husband can't watch a movie without Reeces Pieces so we always have a huge bag on hand just for him. Keeping these items on a stand outside will allow everyone to grab a snack without missing a minute of the movie. 

Summertime movie nights are always better outside. Peyton teams up with Wayfair to show how you can create a wow-worthy outdoor theater in your own backyard. The hardest part? Deciding on a movie! Don't forget to subscribe! https://www.youtube.com/subscription_center?add_user=wayfair And check out more videos on our YouTube channel: https://www.youtube.com/wayfair Find more inspiration at Wayfair.com: http://www.wayfair.com/ideas-and-advice?refid=YTvlogger Check out our other social media channels!

Guest Bedroom On A Budget

Peyton Lambton

It's a new year and many of you may be ready to update a room in your home that is often forgotten....the guest bedroom! I just updated mine and wanted to share some simple tips to help with any budget. These little touches will help your guests feel right at home!


Sheets and pillows are the first place to put your money. I travel a lot and when the sheets are scratchy or the pillows are stiff, I cannot get a good night's sleep. Start by purchasing a nice set of sheets and some down or down alternative pillows. Top that with some fluffy comforters and your friends and family will snooze the night away. 


If you have a bit more in the budget, add an upholstered headboard. This will allow your guests to sit comfortably in bed while reading or working on a computer. Table lamps will provide some nice light. Just make sure they are at the correct height so the light isn't shining right at eye level. 

Everyone always wants to know what the wi-fi password is! Make it easy for guests and for you by placing a card in a frame with this information beside the bed. This will keep you from having to share it every time someone comes over. 


Little items like a fan, candles, hangers and travel sized toiletries are also a nice touch. This way your guests can make themselves at home and they won't have to ask you for a thing because you already provided it for them! 

Check out my video with Wayfair for these tips and more below! 


Rustic Tablescape

Peyton Lambton

The holidays are here and it's a wonderful time to step up the tablescape game. I love to set my table whenever friends/family come over and this time of year is a great excuse to take it up a notch and really show off your personal style while entertaining. Here are details on how I put together a rustic holiday tablescape. 

Start with a base layer of a table cloth or runner. I love my dining table so I chose a black and white gingham runner. Plaid and gingham are in style and perfect for the holidays. Using black and white allows me to pop in other colors throughout the table. For the place setting I layered a wooden charger with a white dinner plate, green bread plate and green glassware. I topped each setting with a homemade place card that I created from card stock, a hole punch and sprigs of cranberries and greenery. 

The centerpiece was created from wooden troughs filled with greenery, cranberries and small candles in mercury glass. I surrounded the troughs with a few tall candlesticks to add some height. This will provide a romantic vibe without blocking the view across the table. 

If you are looking for a gift to give guests, try a potted bulb or succulent. This will be a gift guests can enjoy all year long!

For more tips and to see exactly how I put this look together, check out the video below. 

Happy Holidays!!


House Tour

Peyton Lambton

A few months ago we finally moved into our dream home. HGTV/DIY Network cameras were here as we finished up a few projects. Here is a sneak peek at the interior with some of the details that are special to us.

House Tour Video

Tile is from Daltile. Lights are Lamps Plus. Bedding and towels are The Company Store. Door hardware and bath accessories are Emtek. Kitchen stools are Wayfair. 


Baby Shower Fun

Peyton Lambton

Something I was most excited about when building our new home was the possibility of entertaining in so many different ways. When my sister in law announced she was pregnant I knew that we had the perfect space for her shower. Before the house was even finished I was already picturing how this party would flow. Along with help from my other sister in law and the mother to be's sister, (follow that?), I think we threw the best baby shower EVER!! We went with a neutral theme since we don't know the gender of the baby yet. 

I am a fan of having cocktails at any gathering as an option. Why not make it a little more fun with a theme? We decided to set up a mimosa bar so it was fun and fruity on a Sunday afternoon.  Mixing the juices along with champagne is so much more exciting than just OJ and champs! This area was set up in the breakfast room along with another table that had non alcoholic options as well. I used the chalk board signs from our wedding to label each area at the shower so guests weren't left wondering what each item was. 

We kept the food fairly simple and tried to have options for everyone. The menu included chicken salad, pasta salad, quinoa salad, fruit salad, deviled eggs.....easy stuff that pretty much everyone likes! This was spread between the kitchen island and the dining table to make sure everyone had enough room to move around. There were a lot of people and my biggest fear was having everyone crowd in one room. Spreading everything out helped to prevent this. 

The day was beautiful and we were able to head outside to the patio to watch my sister in law open all of her amazing gifts. She was able to sit on the deck with everyone below on the patio where they played baby bingo. I grabbed a cute card off Pinterest and made copies for all the guests. This kept them engaged and excited about all the cute gifts. My sister in law isn't a fan of the cheesy baby shower games so I tried to keep it cute and fun. Since they don't know the gender of the baby, they also haven't picked a name. So I set out a bowl with blank cards so guests could suggest names. Hopefully this will spark something for baby Lambton!! 

It was a great day and so much fun to plan. I was thrilled with the way everything turned out and even more excited to finally use the house to entertain in the way we always envisioned. I can't wait until the next party and the birth of our niece or nephew!!!

Our home-the story.....

Peyton Lambton

Our home was a catalog house delivered/built in the late 1800's. When Chris's parents bought it, they did some updates and added a fabulous porch and a giant kitchen. Chris was able to purchase the home right before we got engaged in 2011 and we were finally able to turn it into our dream home. 

Originally we wanted to lift the house because it was built on about 2 feet of stones and was beginning to sink into our sandy soil. We had serious mold and mildew issues so we knew something had to be done from underneath. Then we planned to gut the original house and put an addition on the back. When my dad began planning with us, (he's my personal architect), we quickly realized that this was going to be a much bigger project than we originally thought. The fear of the house completely falling down after lifting it was too big to risk. Sadly we had to tear the entire house down, but we did our best to rebuild as historically as possible so the street facing view was almost the same as it was before. We loved so many things about the original house that it made the design process that much easier. 

It was a VERY long winter but our team pushed through and it June we were able to move into our dream home with plenty of room for visitors and to start a family. You can see the front of the house is almost identical to the original home. We were able to get higher ceilings by building from scratch and Chris really appreciates that!

Chris is working on the landscaping and I am working to make the interior more cozy and inviting. Stay tuned for more photos and details.....